


Browse


Weather forecast
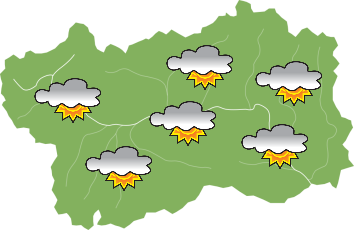
Meteo
Wednesday 13 May
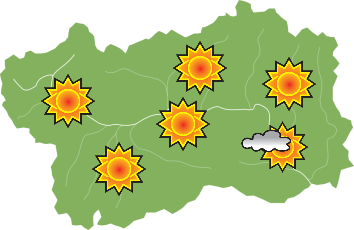
Thursday 14 May

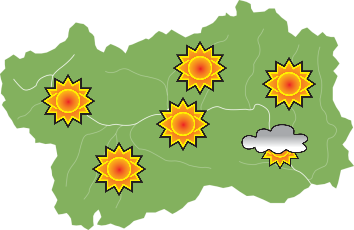
Friday 15 May
Book your Holiday
How to get here
From the parking area of Valnontey, take the footpath that runs along the right bank of the torrent. Follow it all the way paying attention to the cross-country skiing tracks and continue on the right bank. Once you are near the track’s halfway point, turn left along the nearly flat summer trail. Go past the crossroads to Casolari di Money and you will reach a flat area where the woods become denser. Leave the main track that leads up to the Ponte dell’Erfaulet (Erfaulet Bridge) on the right and turn left uphill (tracks and signs are normally present). This will take you to a wide ridge out of the woods from where you can see the ice climb. In short, you will get to the base. It is advisable to leave the equipment beforehand, or in the shelter of the first rock faces that you encounter. At this point, in fact, you return back to the end of the descent on foot. Tip: close the backpacks to avoid them being looted by foxes. From here, a sequence of frozen ridges (often covered in snow) will lead to the real challenge. 1 hour.
Description of the route
The most classic among the classics in Valnontey ... and much more. It is definitely the busiest trail in the valley. To be avoided at weekends because a long queue is guaranteed! You must keep in mind, however, that even in the presence of several roped parties, it is still possible to climb without jeopardizing the safety of the progression. The ice climb in fact consists of several independent jumps; all you have to do is just wait until the roped parties before you have finished their pitch.
Be cautious in the event of heavy snowfalls or the general instability of the fresh snow. Contrary to what you might think, the cascade is quite exposed to avalanches … especially to the greater ones.
The WI3 technical assessment obviously takes into account the easier route; needless to say that numerous, more difficult versions are also available.
An interesting pillar is formed from time to time just a few metres to the left of the start of the cascade: this is a fascinating alternative to decongest possible crowding on the main route.
The following is a description of the simplest and most direct route that also includes medium/long pitches. There are also other climbing opportunities when the ice allows it, providing for intermediate belays (usually equipped with fixes). Our advice of course is to avoid overcrowding the same belays while trying to be as independent as possible: fortunately, the ice allows considerable route customization.
Level: III/3
Length: 250 m
First ascent: G. C. Grassi, P. Marchisio 1985
Altitude: 1950 m
Exposure: West-North-West
Coordinates: Lon.: 7,32951 Lat.: 45,552873 - UTM (ED50) - X: 369694,56 Y: 5045926,15
L1: the first jump of the ice climb can be tackled at several points. The easiest route involves passing a not so steep icy dihedral on the left, followed by a cross to the right until the end of the jump. 60 metres. There is a belay on the rock to the right (fix). This belay can also be reached by directly passing over two well supported ridges interposed by a large, almost horizontal, mantelshelf which you can rest on.
L2: move to the left and take on a frozen ridge, initially steep then more sloping at the end. Then walk up to a large stony block. 40 m. There is a belay at the upper right of the stony block (fix).
L3: walk several metres to the base of a short frozen ridge that can be easily passed from the centre. Belay on upper left of rock (fix).
Short transfer to the base of the upper part of the ice climb.
L4: the wide icy wall of the upper part allows you to climb everywhere, following at least 4 independent lines. 40-50 metres. In all cases, the belay is located on the top right before the rocky bottleneck (fix).
L5: move to the left into the centre of a narrow gully and climb it up to its end. Belay on rock at the upper right (fix).
Descent: if necessary, it is possible to abseil down from any belay (fix). The most practical solution however is to abseil down from the last jump (2 rappels). From here, walk diagonally to the right (facing downhill) going down into a sort of channel that runs along the right bank of the ice climb. You will end up exactly where the backpacks were left. Be careful in the case of heavy snowfalls, the slopes you descend are short but quite steep. It is recommended that you keep the crampons on during the descent.
Text and photos taken from Effimeri barbagli (M. Giglio, 2014), the complete guide to ice climbs in Aosta Valley.